I have nothing against store bought stock but there is so much to be said about homemade ones. In the past, I always bought ready made stock but once I knew how to make chicken stock from scratch, there has been no stopping me.
Whatever dish you add homemade chicken stock in, it adds another depth of flavor that makes it so delicious and good. And the best part is, it is all made from healthy and natural ingredients and so easy to do.
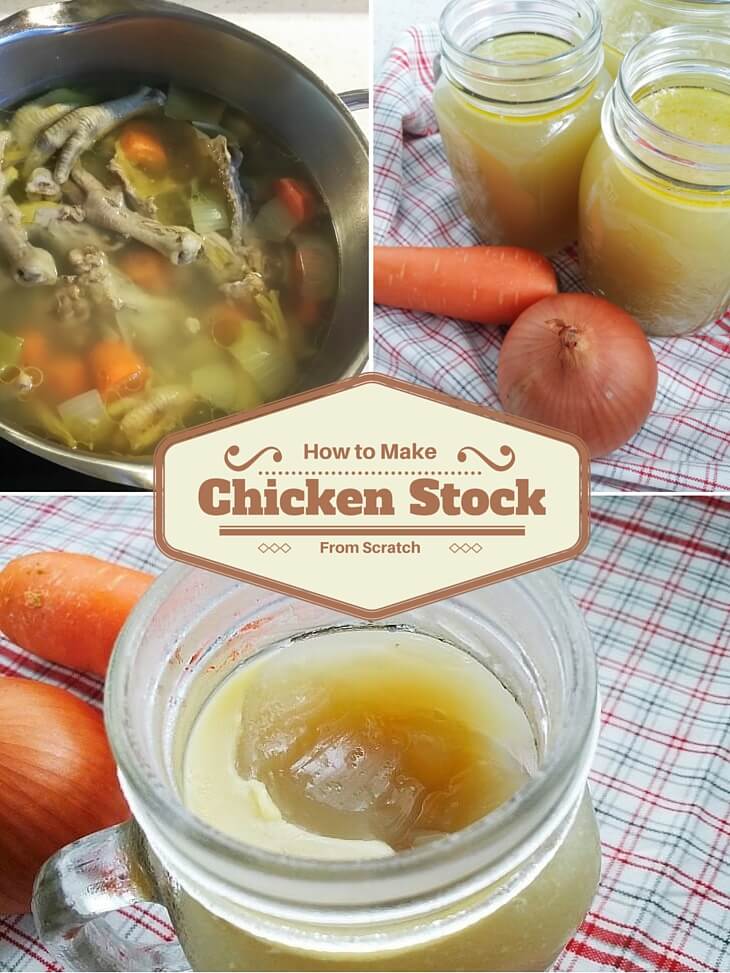
There are different ways you can make a chicken stock – standard method on the stovetop, pressure cooking and slow cooking. Yes, it does take hours to cook your own chicken stock using the traditional method on a stovetop but if you, like me, enjoy having your kitchen smelling, well, aromatic then stick with this stovetop method. This article talks about how using different cooking methods will affect the flavor and body of the end product.
I read that adding 1 – 2 tbsp of apple cider vinegar will draw out minerals out of the chicken bones and these minerals will be leeched into the stock. I haven’t tried that so far but if you have, do let me know how your chicken stock turned out in the comment section below!
What You’ll Need
- Raw chicken carcasses/roasted chicken bones or whole chickens. Chicken feet and necks are great too.
- Aromatics like celery, carrot, onion, bayleaf, peppercorn, fresh thyme, fresh parsley and/or garlic. Use whichever is available in your kitchen. Besides the chicken, the aromatics used will also influence the color and flavor of the stock so add or reduce the amount accordingly.
- A big and deep stockpot.
- A big bowl.
- A sieve.
- Glass jars and ice-cube trays (to keep your chicken stock)
Step by step guide on how to make chicken stock from scratch
Prepare your chicken for making stock. Wash the raw chicken carcasses or whole chickens or use leftovers from a roasted chicken if you want a darker looking stock. It is worth noting that the more chicken you pack into your stockpot, the richer and more gelatinous the stock will turn out. For this homemade chicken stock, I used chicken carcasses and feet.
Dice the vegetables and set aside. Leave the skin of the onion on if you want a darker color for the stock. Otherwise, peel away!

Bring water to a rolling boil in a wok or pot. Then add the chicken carcasses and feet and simmer for around 5 minutes to get rid of all the blood and nastiness. Remove, rinse and set aside. If you skip this step, there will be lots of floating scum when cooking your stock so skim that away from the stock pot.
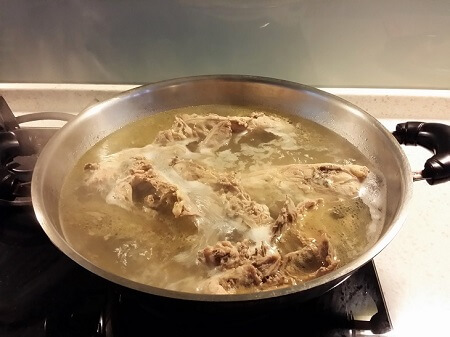
Dump all the chicken bones and vegetables into a big stockpot. Then fill it with enough cold water to submerge everything by about an inch. Bring it to a boil. Then reduce heat to low and gently simmer for at least 4 hours or longer if you can.
In the meantime, go find something else to do and let the stock do its thing for the next couple of hours. I set a timer to remind myself to check on the pot but sometimes it isn’t necessary because the whole kitchen just fills up with the wonderful aroma of the chicken stock in progress.
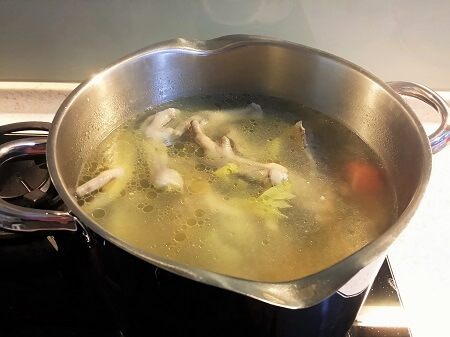
After 4 hours of simmering, the liquid has reduced significantly. If you have limited space in your fridge like me, it’s a good idea to simmer it down for storage purposes unless you plan to use the stock immediately. Moreover, the longer you simmer the stock, the more concentrated and richer it will be.
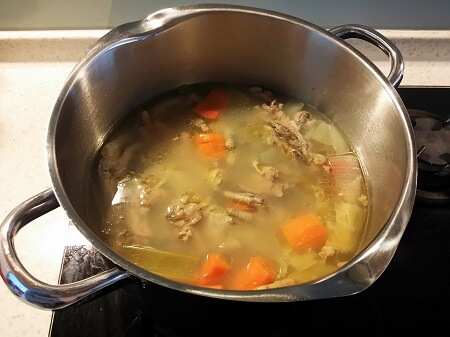
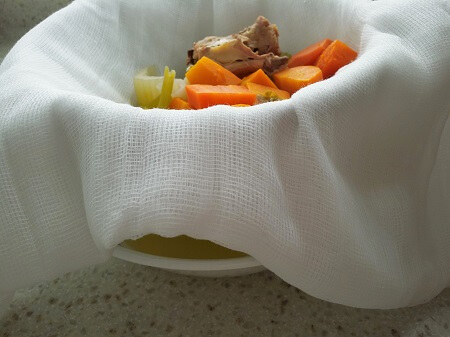
Strain the stock through a sieve and let it cool for awhile. Or strain the stock through a sieve and a cheesecloth placed over it into a large bowl if you want a clearer stock. Usually, I would just strain it with just a sieve.
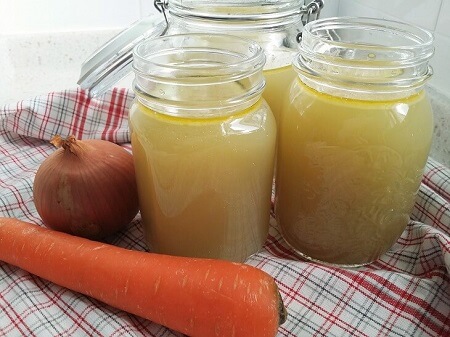
Pour and store the chicken stock (I call it liquid gold now) into glass jars of various sizes. Keeping some in an ice-cube tray is useful for times when you need a small amount like for stir-fries. Keep in the refrigerator if you plan to use it soon (within 5 days) or freeze it for later.
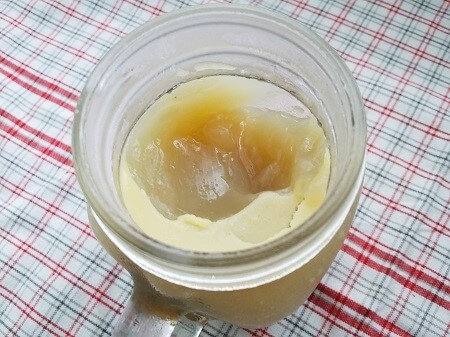
Once refrigerated and cooled, you will notice a layer of fat on top. The hardened fat prevents air and bacteria from going into your stock so keep it on till you’re ready to use it.
That’s the refrigerated and cooled chicken stock the day after. I love how it has gelled up. That’s precious gelatine extracted from simmering the chicken bones for hours. Don’t fret if the stock doesn’t gel up the next day. It’s still good stuff! Now you can use it to cook with whatever you fancy.
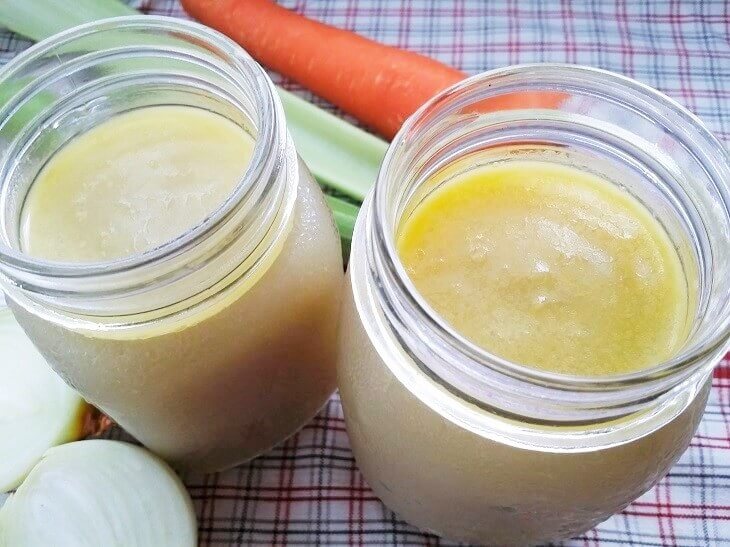
I like to season the stock only when using it for its intended purpose and not when cooking. That way, it won’t be overly salty if you want to reduce the stock to make a sauce. Think of stock as a building block or base that can be further developed into something more complex.
How To Use Chicken Stock
There are endless ways to use chicken stock really. Here are some tasty ways to use chicken stock:
#1 Use chicken stock to replace water when making the sauce in a vegetable stir-fry.
#2 Egg drop soup. Use stock when the recipe calls for water. Remember to season with salt as the stock has not been seasoned.
#3 Stews.
#4 Check out my Winter Melon Soup with Lean Pork and Straw Mushrooms recipe where you can also use this chicken stock.
#5 Wonton soup. Homemade chicken stock and wontons is so delicious and satisfying! You have to try it.
I encourage you to make your own homemade chicken stock because it not only makes your dishes more flavorful, it is also made from natural and healthy ingredients. Better than chicken stock cubes? You bet! And no, I’m still not against using them 😉
- 6 chicken carcasses (about 1.2 kg)
- 300 g chicken feet
- 2 sticks of celery - cut into pieces
- 1 large carrot - cut into chunks
- 1 white onion - diced
- 1 bayleaf
- Wash the chicken parts. Bring water to a rolling boil in a wok. Parboil the chicken carcasses and feet for about 5 minutes to remove scum and dirt. Remove and set aside.
- Put in all the chopped vegetables, chicken carcasses and feet into a tall and deep stockpot. Fill with enough cold water to submerge the ingredients by 1-2 inches.
- Bring water to a boil. Once it starts boiling, reduce heat to medium-low and simmer for about 5 hours. Check the stockpot from time to time to ensure that it doesn't dry out.
- After 5 hours, turn off the heat. Place a fine-meshed sieve on top of a large bowl. Strain the chicken stock through the sieve into the bowl. Let it cool before pouring into glass jars. Use within 5 days if kept in the fridge. Store the rest in the freezer and use within 1 month.
 |
 |

Hi. In another post regarding the use of thermal cookware, you said you made chicken stock with a thermal cooker. Would you be able to describe how you did this? Thanks.
Hi Amanda,
I just published a post on Chinese chicken stock made with a thermal cooker. Here’s the link: https://souperdiaries.com/chinese-chicken-stock-recipe/
Hi Yvonne,
Marvellous! I can’t wait to try making my own soup stock after reading your blog.
As for the stockpot, would it be OK to use the happy call pot instead?
Hi Hazel,
It depends on how much stock you wish to make. The stockpot that I used for this chicken stock recipe is an 8 qt pot. Yes, you can use Happycall pots if you wish. I found these bigger sized pots from Happycall which you can consider:
1. Happycall Alumite Ceramic Pot (6 qt) brown
2. Happycall Stainless Steel Pot (6.3 qt)
3. Happycall Vacuum Pot (9.5 qt)
Alternatively, you can also use a stainless steel stock pot. Hope that helps. Thanks for writing in and happy cooking!
Perfect! I have the happy call 6 qt pot too.. looking forward to try it out!! 🙂 🙂
P/S: I’m a kitchen newbie (haha..is there such a term?).. stumbled upon your blog while searching for thermal pots information…love your blog so much! Very informative, easy to understand and inspiring. Keep it up!
Cheers!
Thanks for the kind comments, Hazel. I’m really happy you like my blog 🙂 If you’d like to receive update whenever there is a new post, you can subscribe here. See you again and happy cooking!
Yvonne
Yippee, subscribed!
Thank you once again… hope to see more thermal cooker recipes. 🙂 🙂
See you soon!
Thanks for subscribing and I’ve noted about the thermal cooker recipes. In the meantime, if you enjoy eating yogurt, I have a homemade thermal cooker yogurt recipe here.
Hi Yvonne,
Thanks for your post on how to make chicken stock.
We have chicken once a week. I always bone the chicken out for roasting and throw away the carcase. We are always picking chicken stock cubes up at the shops for stir-frys etc, what a waste of money when we’ve just thrown away the perfect ingredients for it.
I bet it tastes so much better too.
Thanks again, I will be following your chicken stock recipe from now on.
Simon.
Hi Simon,
Thanks for your comments. You’re right. The chicken carcasses and bones can be kept and made into a rich soup stock. Once you’ve collected enough (I usually keep them in the freezer till ready to use), add them into a stockpot along with the aromatics and you’ll have yourself healthy homemade stock. If you’re using roasted chicken bones, the stock will be richer and more flavorful as the chicken was seasoned previously.
Nice! How long can u keep the frozen stock ?
Hi Hsiuli,
I usually freeze it for around 6 months. Longer than that, it may lose some flavor. When freezing, leave some air space at the top of the bottle. This is because food expands when you freeze it and the only place it can go is the empty space you leave in the bottle. Otherwise, the glass will crack and break in the freezer. I learnt this the hard way.
This is a nice post! You are right to say even though we can just purchase the ready-made chicken stock from store, it still makes a lot of sense to cook your own chicken stock or soup as I believe it will be more tasty and delicious. And the way you write this article makes it looks so simple and cool. I think I will try it. :))
Thanks very much for sharing, I really like this article on “how to make chicken stock from scratch”!!
Hi Jewel,
Yes, homemade stock is much better than store bought ones. It is also healthier as it contains no additives and artificial flavoring. Once you start making your own homemade chicken stock, you’ll want to do it again and again because it’s so easy and good for us. I’m glad you enjoyed the post. Thanks for your comments! 🙂
I use chicken stock in a lot of recipes. I’m going to have to give this a try! Thanks for sharing!
I’ve never made home made chicken stock before but after seeing how you’ve made it, it looks 100 times more tasty than the ones from the store!
I like the tip on boiling the chicken for a few minutes first to get rid of the nasty scum…YUCK! And the idea about the ice cube tray is genius! Sometimes you only need a little so those portions are perfect for adjustment. If you only need one then great, if you need a bit more then add 2 cubes or more.
One thing I didn’t know about was how the layer of fat that forms after cooling in a jar actually helps prevent air and bacteria from getting to the stock. Every time my wife see’s fat she would skim it all off and throw it away but I guess in this case it’s actually better to just leave it there to protect the integrity of the stock.
Thanks for your amazing tips! Learning something everyday.
Hi Andy,
Thanks for your comments. I’m glad you like the tips! I always parboil meat first before using them for soups. It cleans the meat and the soup will be clearer this way.
I used to skim fat away too when making stocks but I realized later on that the layer of fat is not only easier to be removed when it’s cool but also, it will harden and prevent air from entering the stock. So now I just leave the fat untouched until ready to use.
What a great post! I definitely have to make my wife cook this up for me. Thank you for the great in depth information and I can’t wait to give this a try.